So you’ve setup your account, and some clients. Now you want to create and assign workouts to them. This will take you through the steps to creating and assigning a workout to a client!
Note: click on an image to view it in a larger format.
Let’s start on a client’s calendar.
Cool, now hover over a date that you want to add a workout to, you should see an add workout link, click this.
Now let’s set up our workout. We start out with an empty workout page, let’s give it a name and add Squats.
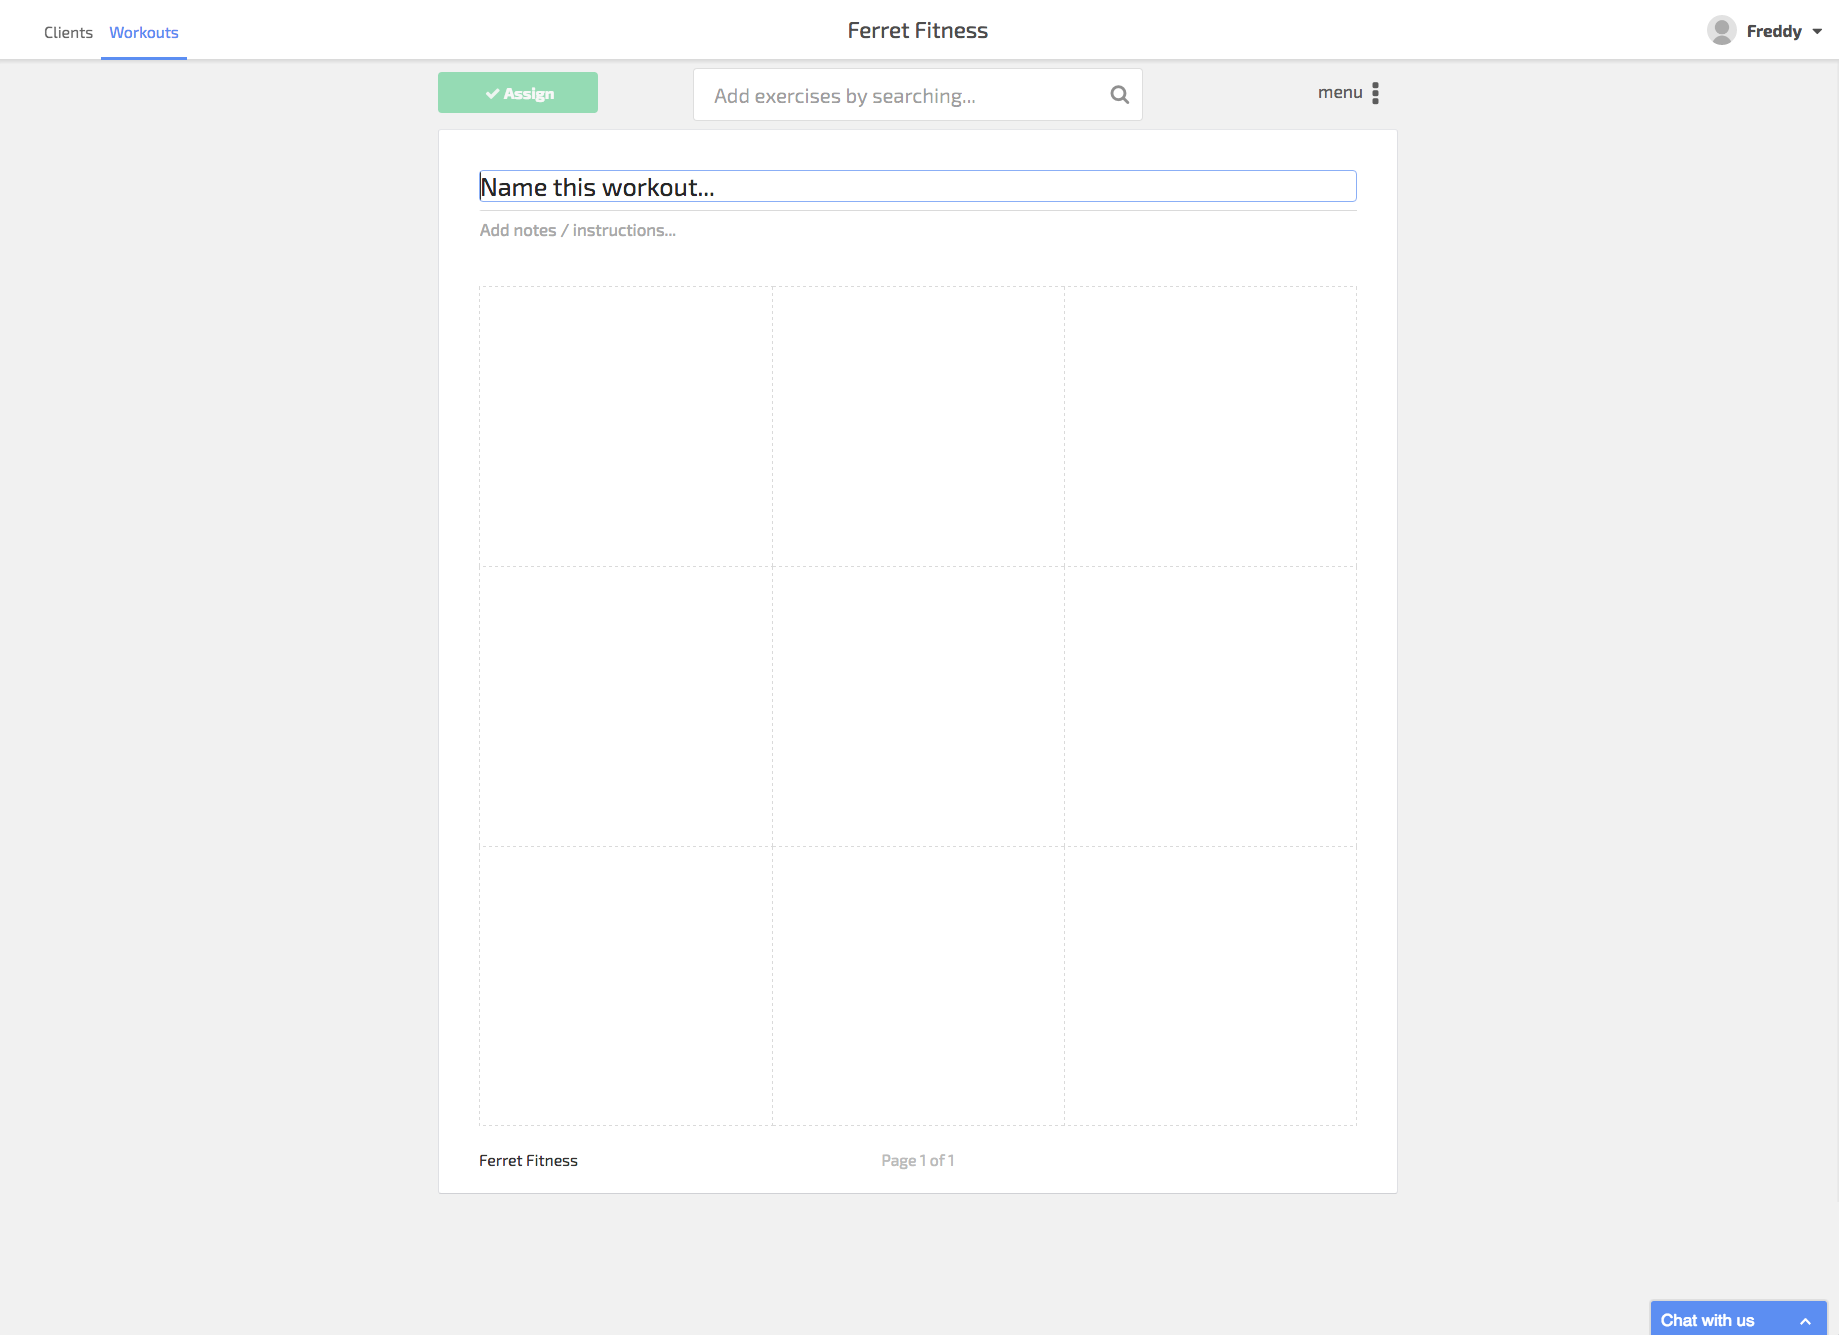
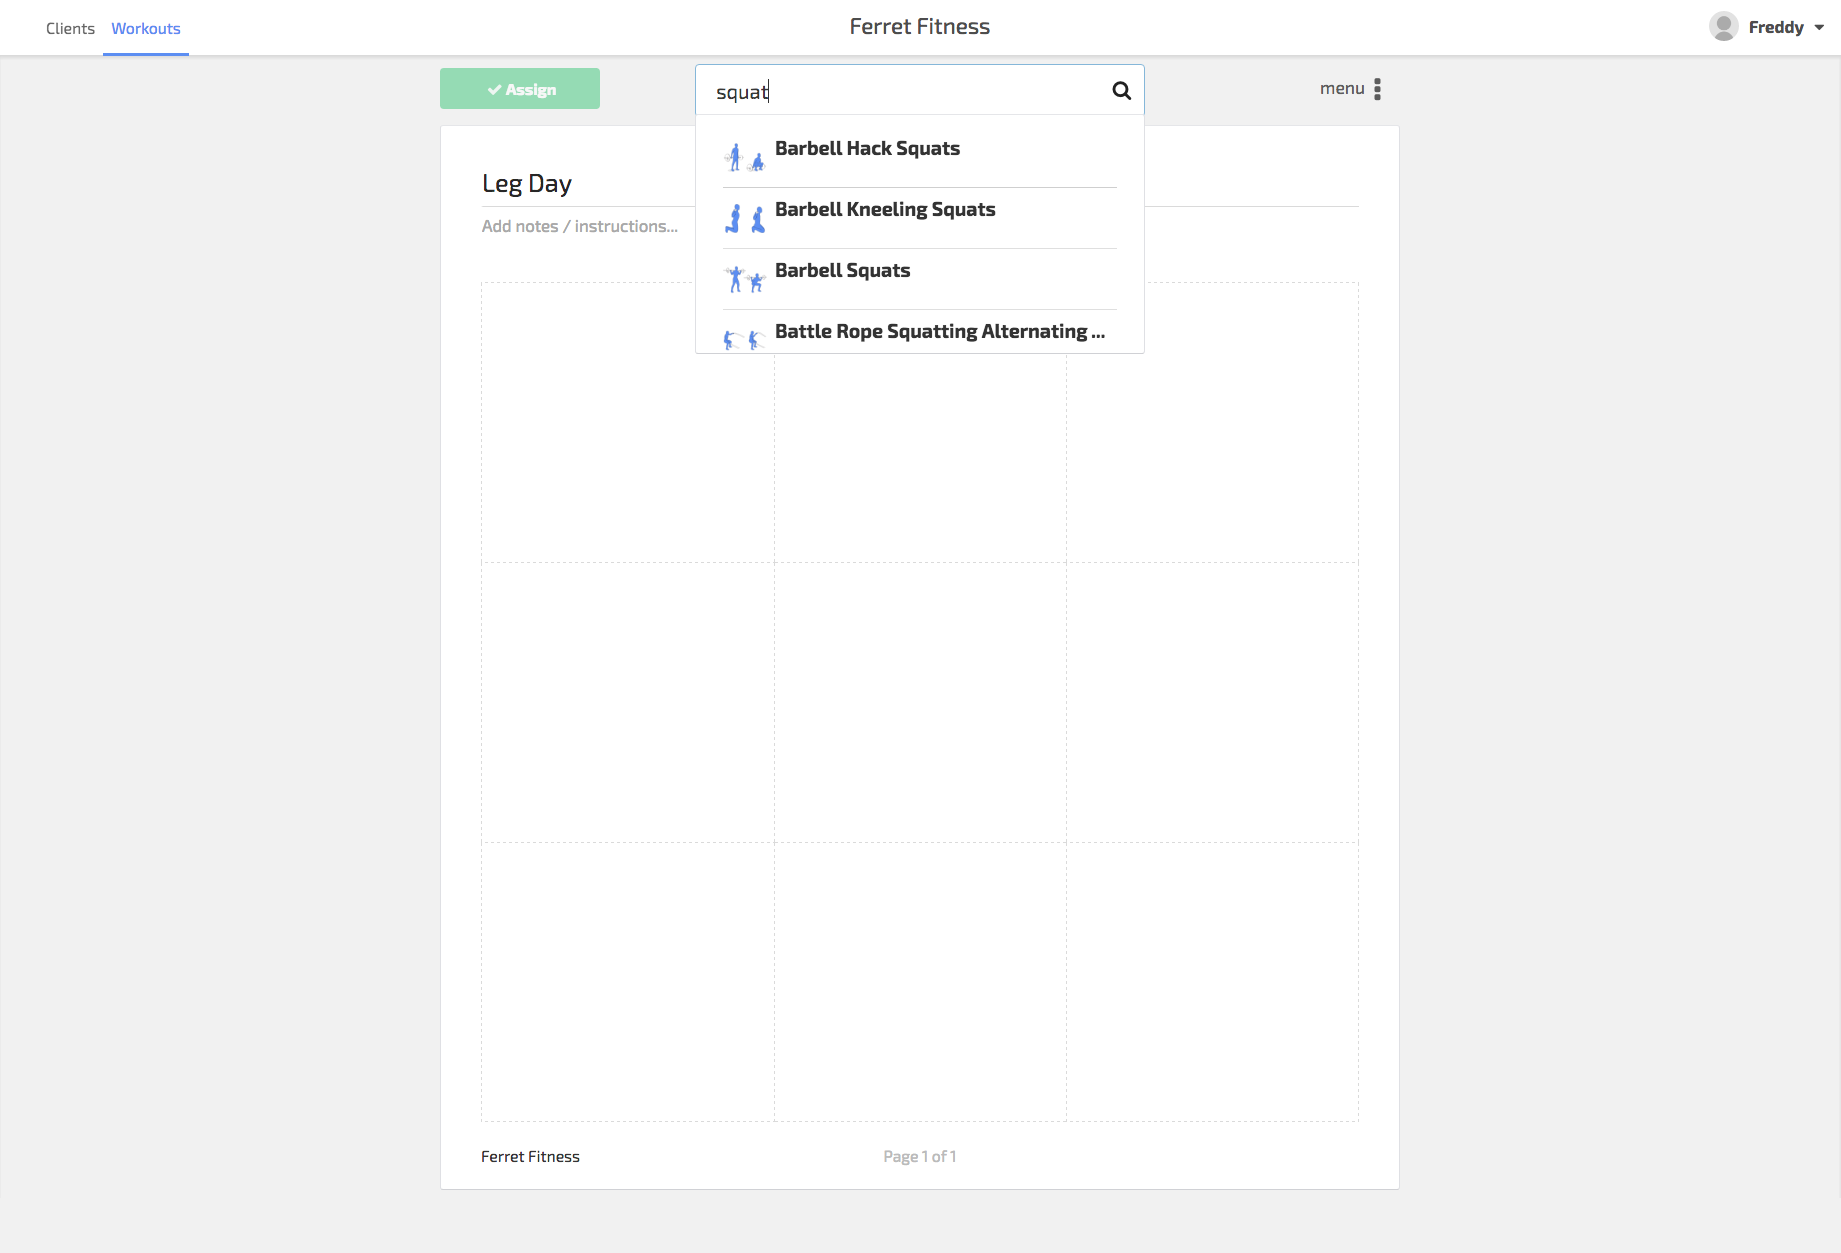
We can add an individual workout by starting to type it into the search box.
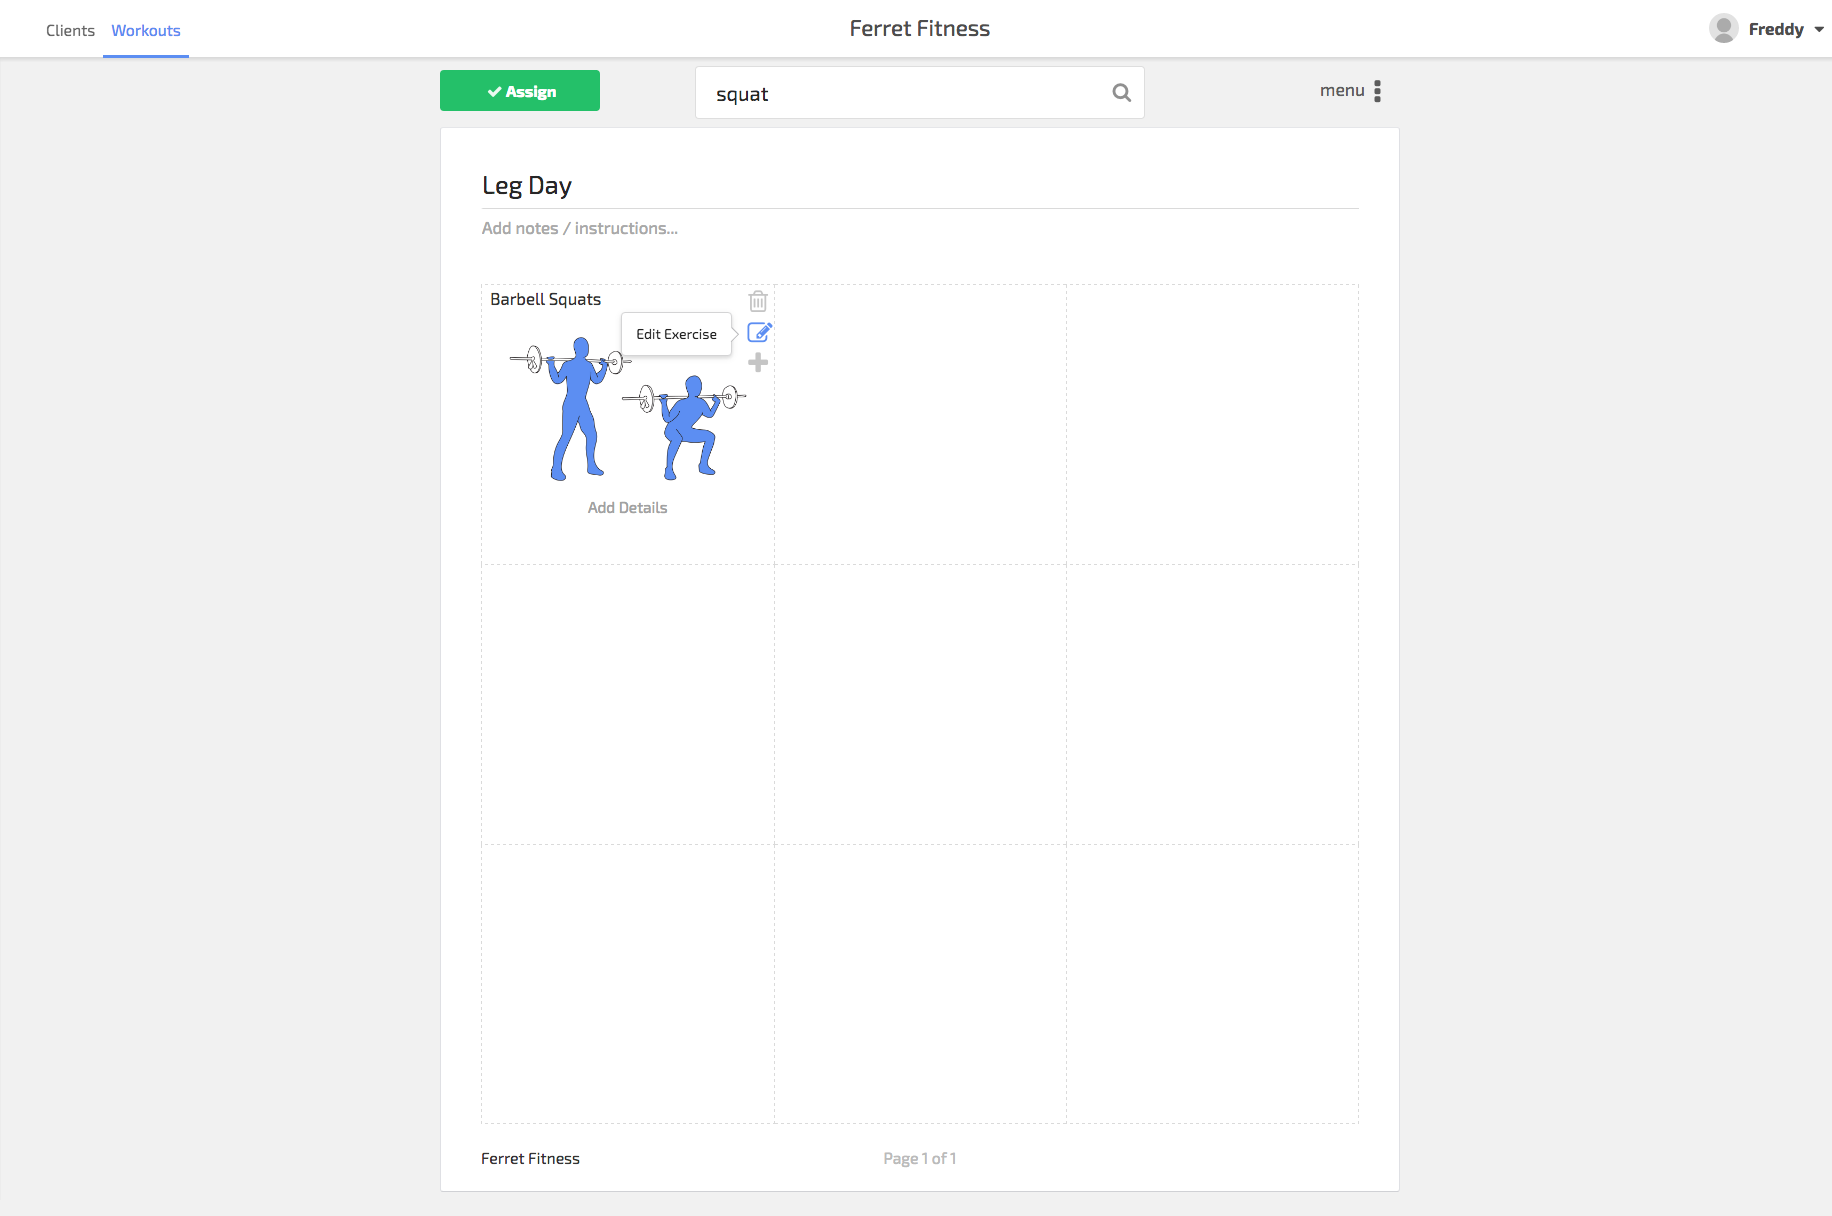
Now select the type of squat you want, in our example, barbell squats. This will add it to the workout pane. You can delete, edit, or add details to the exercise by hovering at the top right corner of the exercise.
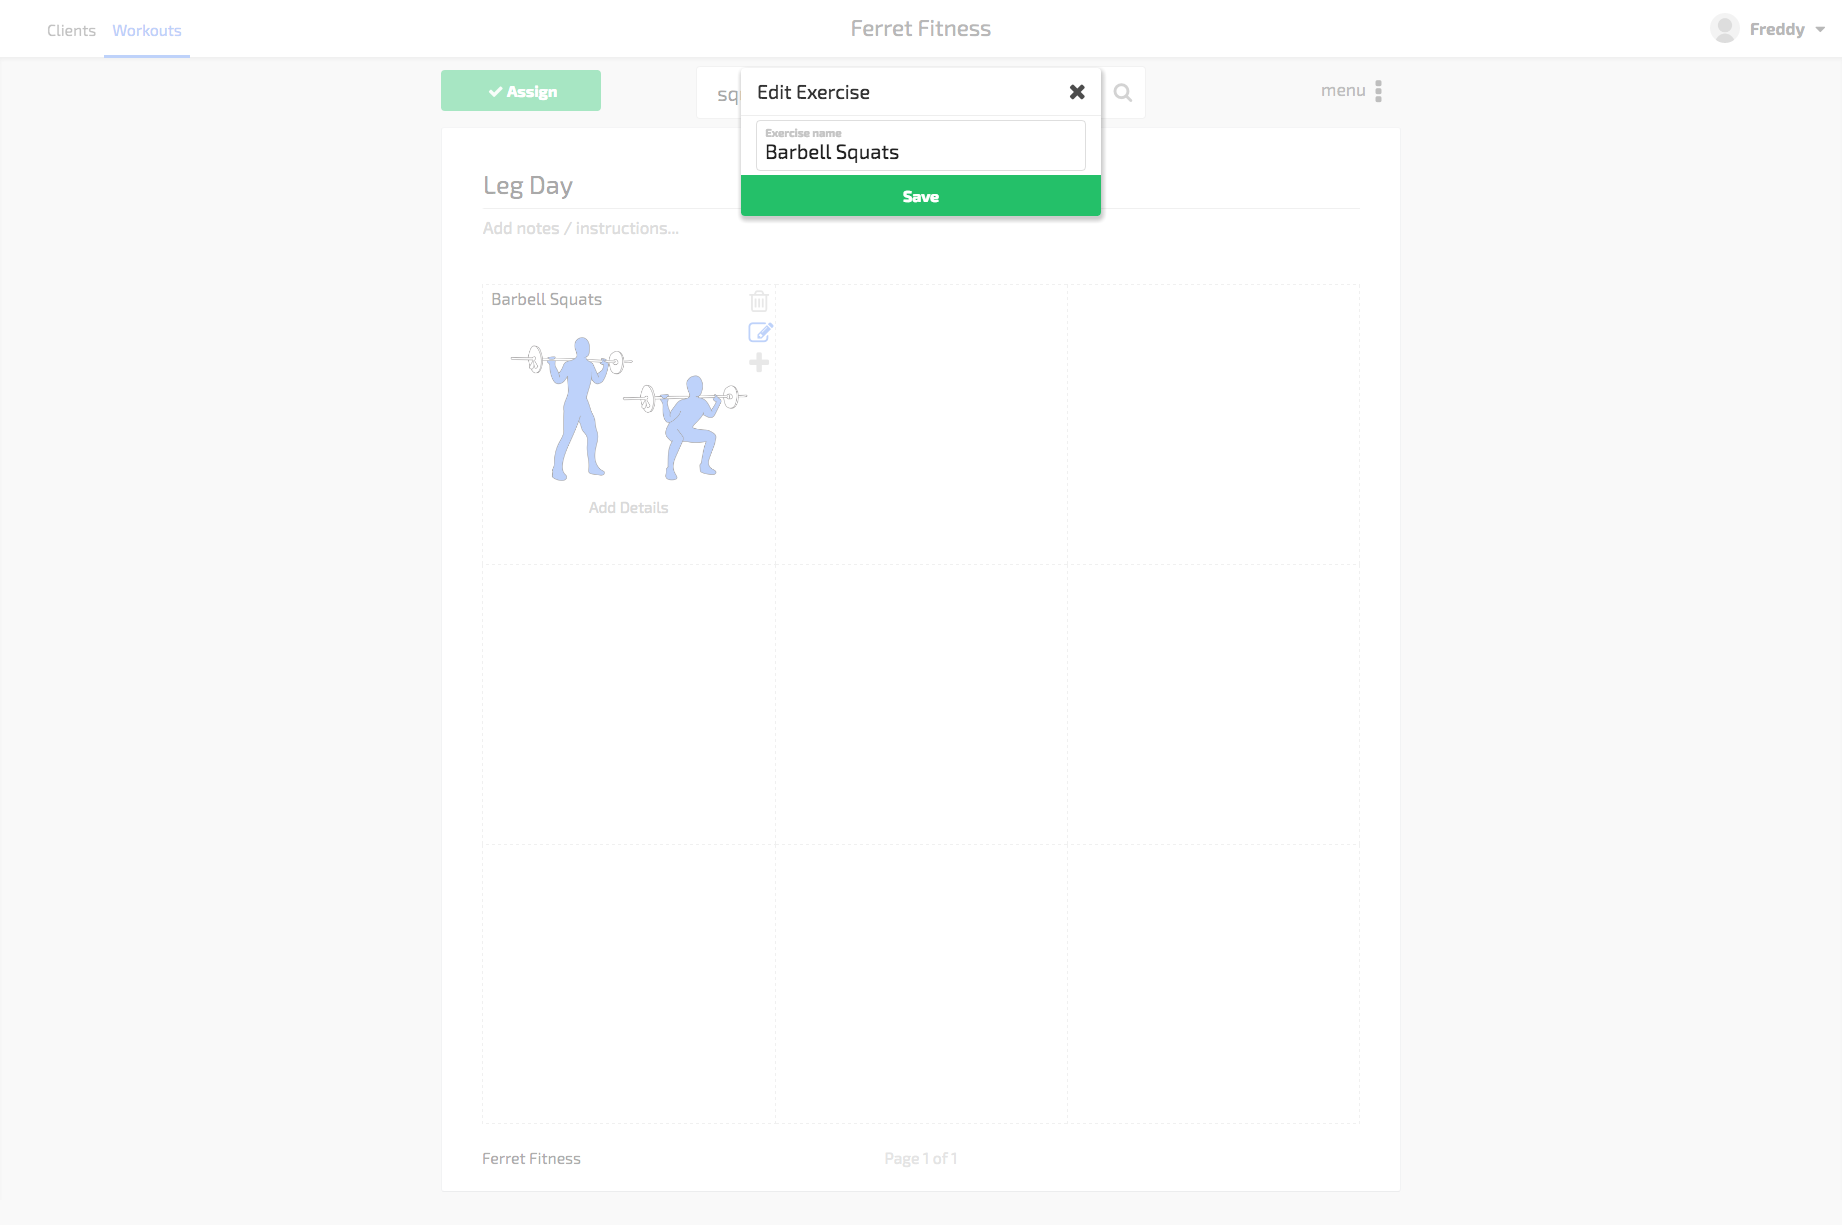
Clicking on edit exercise will allow you to change the name of this exercise.
Clicking on Add Detail, or the + button will allow us to add sets, reps, weight, distance, time, etc. to our exercise.
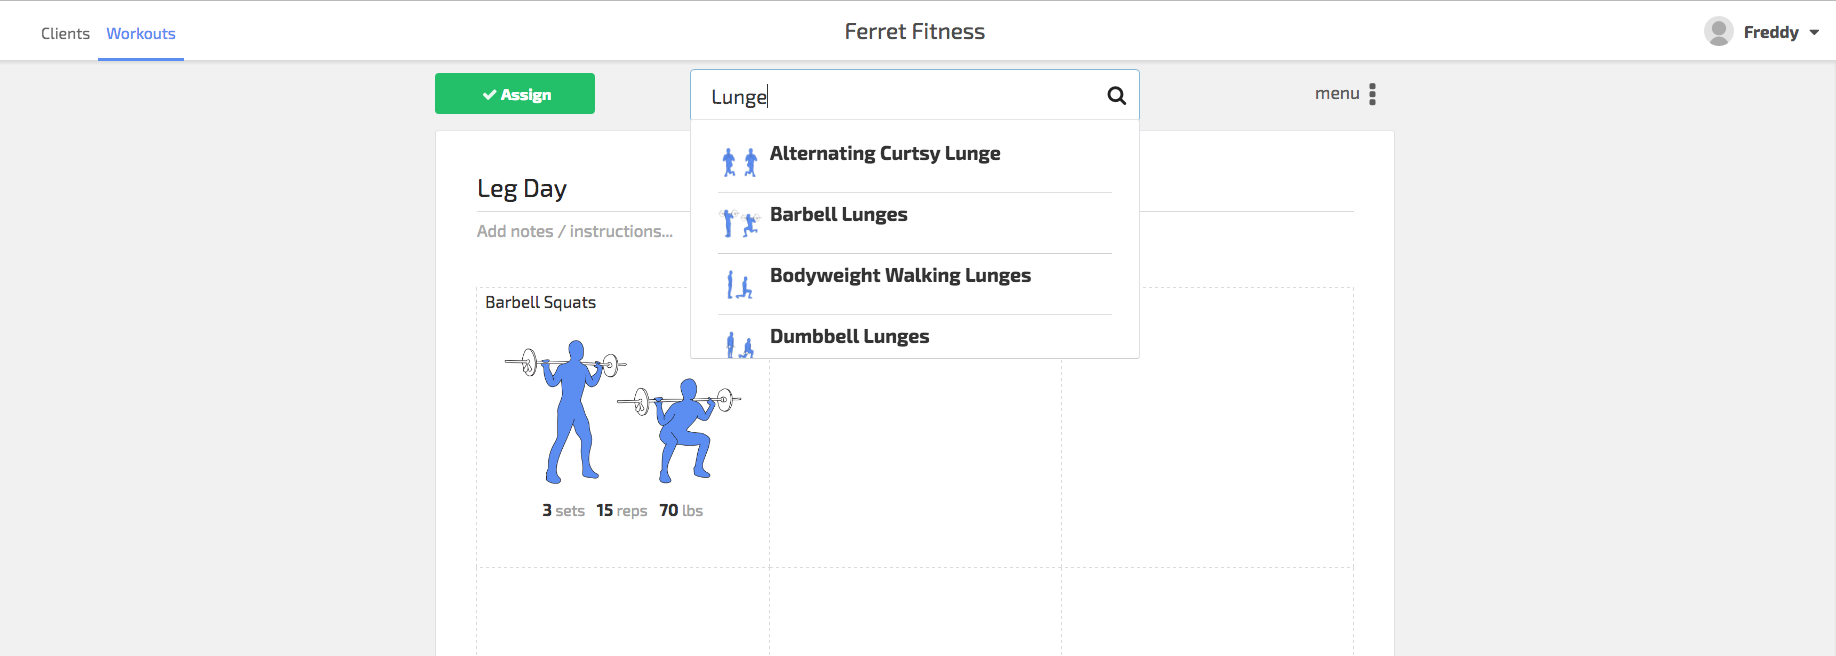
In our example, we’re adding 3 sets of 15 reps at 70 pounds for barbell squats. You can also add notes here.
Let’s add some more exercises.
Once we have all of our exercises in we can click the Assign button to assign it to our client.
Now let’s assign a pre-created workout to our client.
Click on the workouts tab, that should show you all of your previously made workouts, in our example we’ll be adding running to our client.
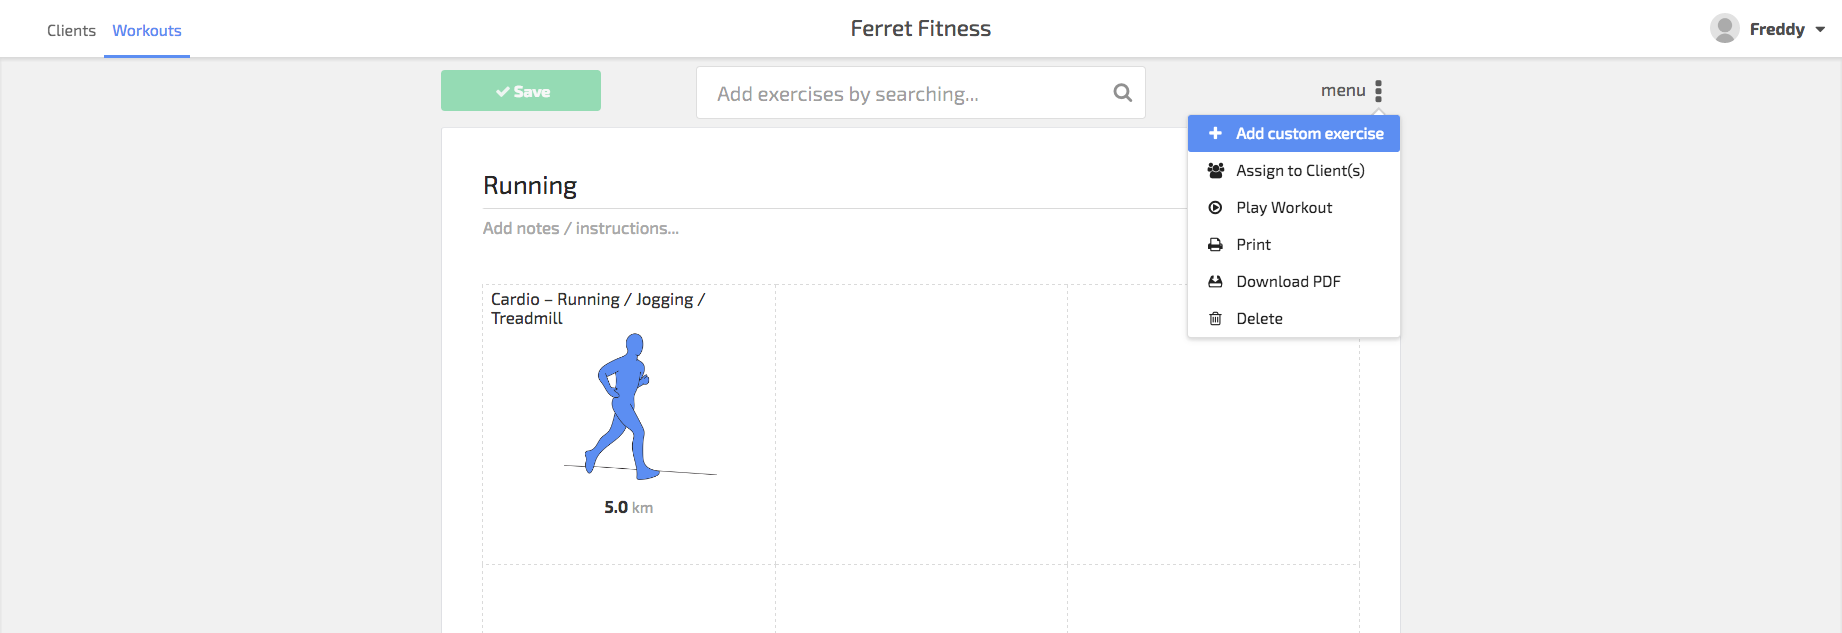
Select the workout you want to assign, then hover over the Menu.
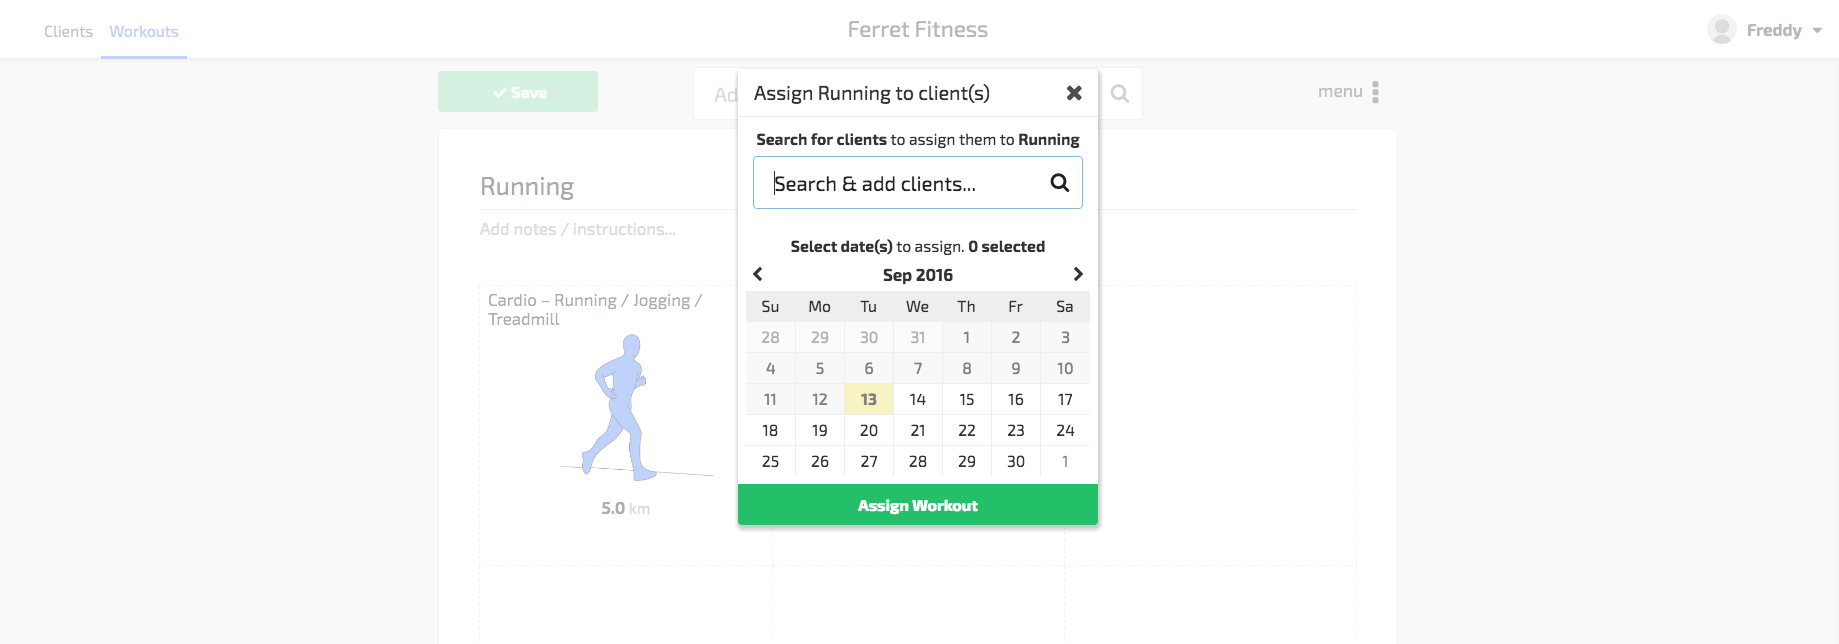
Let’s assign this to our client. Click “Assign to Client(s)”.
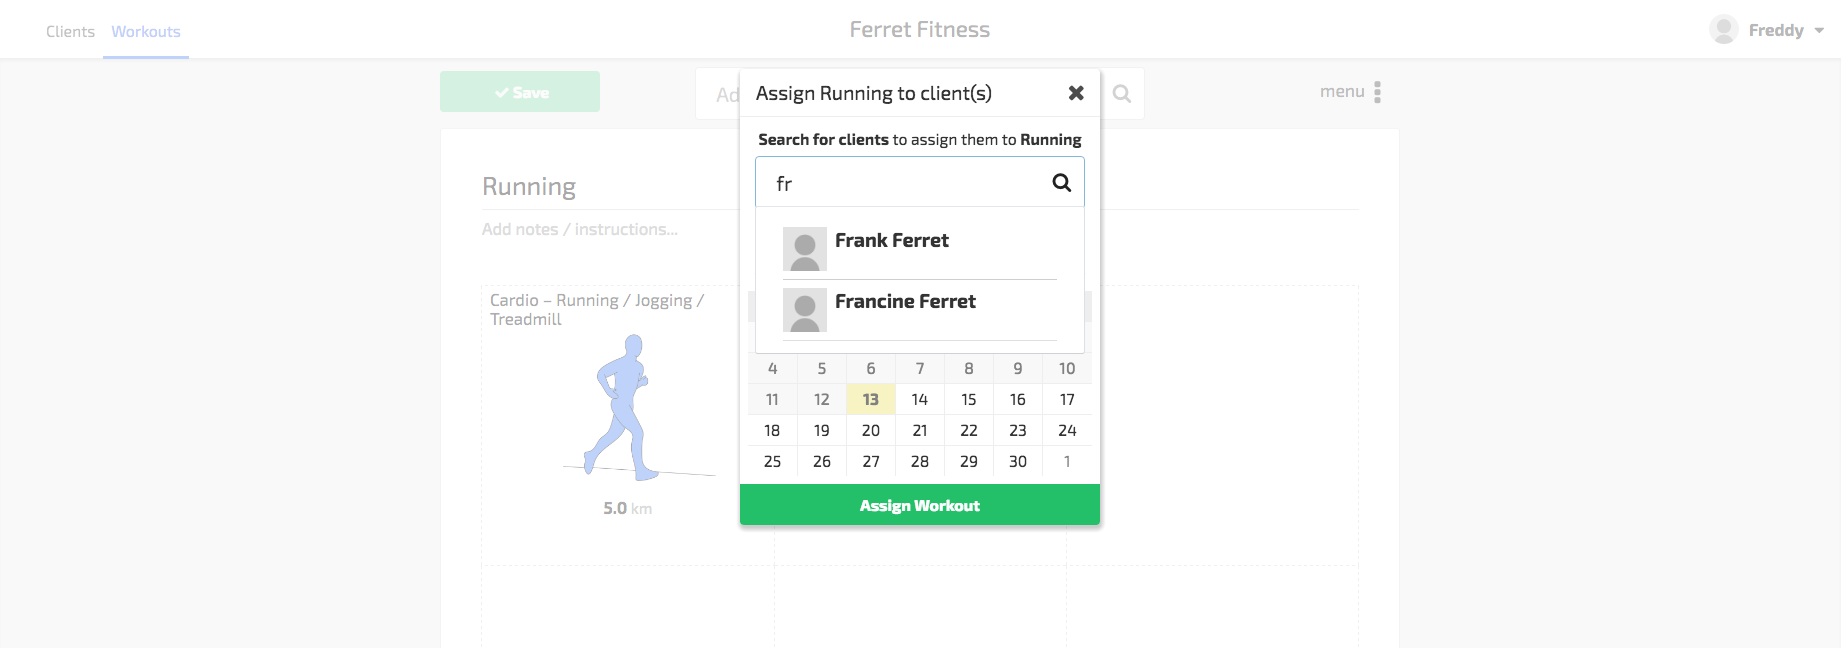
Search for the client you want to assign the workout to. In our case, Frank.
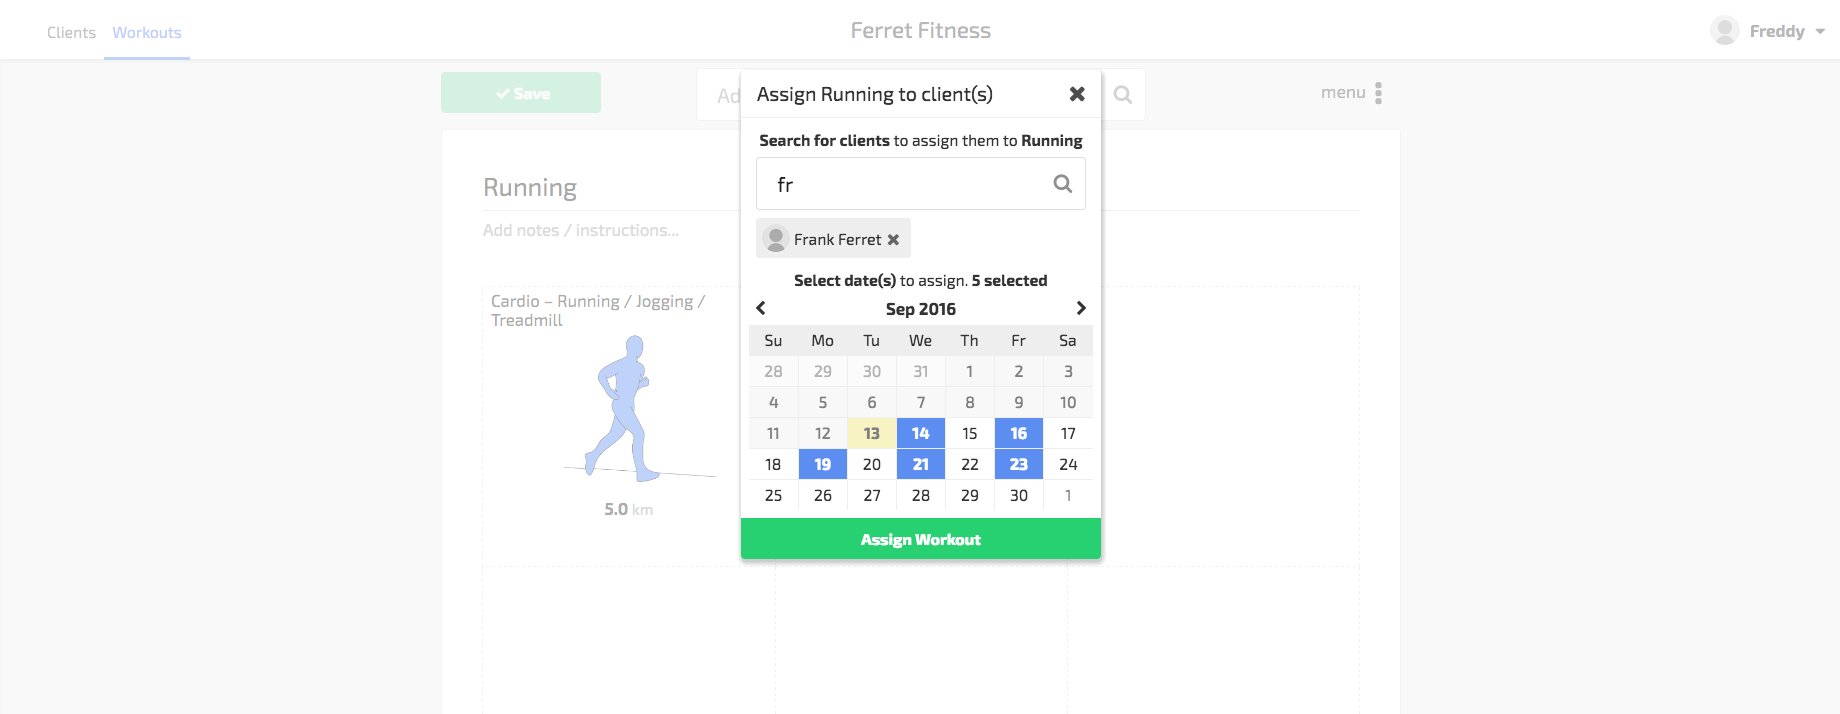
Select the client’s name, and the date or dates you want to assign your workout to.
Click Assign workout, and let’s check to see that it did it!
Click on the Clients tab, then the client’s calendar.
If you run into any issues, or have any questions, don’t hesitate to contact us.


