Today I’m going to show you how to take your personal training business and add an online personal training as a service.
If you haven’t done so already, sign up for a free Fit Ferret account. This tutorial will show you how to use the platform to its fullest.
Quick Navigation
- Creating a new client
- Set up your business brand
- Add your trainer profile
- Making an event
- Building a workout
- Building a meal plan
- Adding a trainer to your business
Creating a client
Creating and tracking a client is easy & takes only a few clicks.
- Go to the clients tab

- Click on “Add Client” & fill in first name, last name & gender
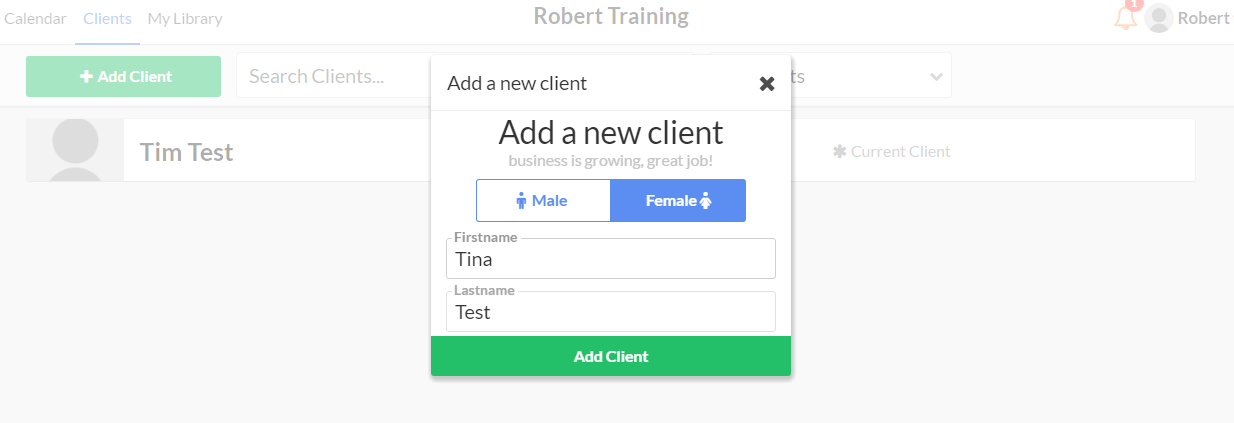
- From here you can fill in any information you’d like (private notes, goals you know Tina wants to do, or even body weight) I’m going to leave it blank for now though.
Viewing as a client (logging in as client)
After creating a client, the platform also gives you (as their trainer) the ability to login as that client. We find this is a useful feature when initially testing requirements & also to get a better idea of what your clients see. In this case, our good friend Tina will be showing us what that’s like.
- After going to the client you would like to view, find the menu to the right & click “view as client”
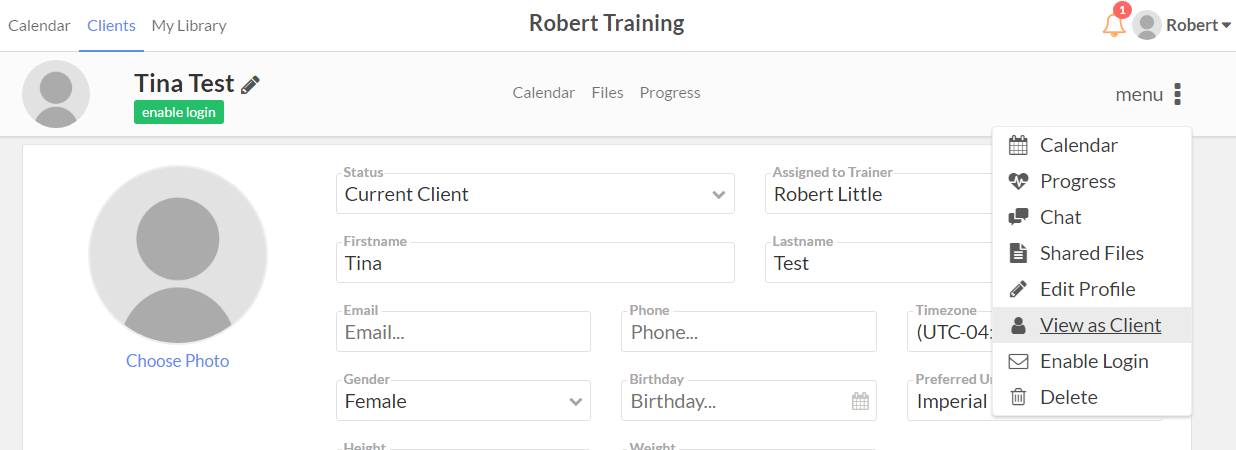 (this will let you login as this client & even if they do not have an enabled login, will pretend that they do during this session)
 - Please let the browser refresh & when reload is complete you should see something like the following
 (make a note that anything you do, you are doing actually as Tina, so all data is saved)
 - Whenever enabling a client login, this is what your clients see. In brief, they can update their own information, view their trainer’s profile, chat, add progress & view the calendar. I’ll include a picture of an online workout one might send below.
- After that it’s business as usual, we will dive into creating online workouts and meal plans in those sections
Activating an online client account
Once you have created a client account & added any data into it, you may want to let your clients know that you not only offer awesome personalized results, but an online portion to train & meal plan outside of the gym. We do recommend setting up any branding & business preferences before doing this.
- Go to the client you would like to enable the online account for. In this case, we are using Tina.
- Once in her profile, we click “enable login” or check the checkbox named “enable login”
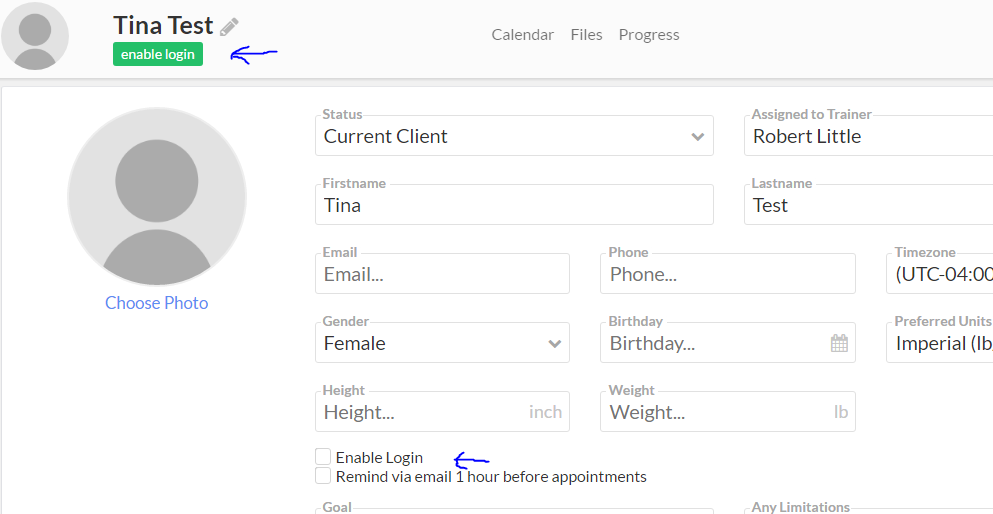 (please forgive my awfully drawn arrows)
 - Once you enable login you will be prompted with a modal asking for email, password & whether you would like to send an email with this information in it.
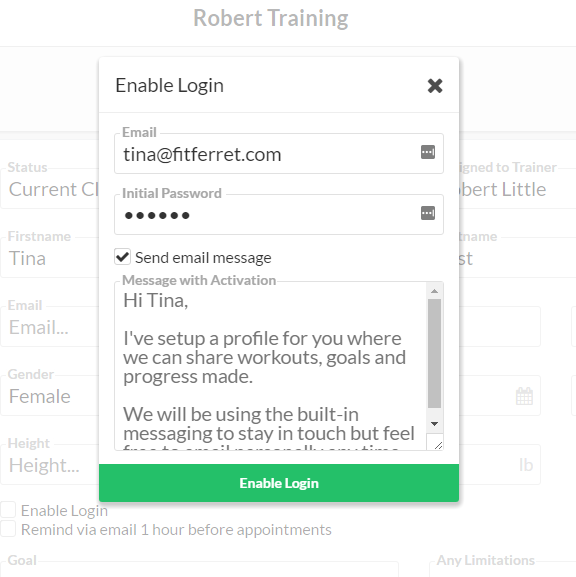
- If you decide to let Tina know yourself what her login information is you can always let her reset her password with an easy to remember url: https://fitferret.com/reset or she can just message you. Checking the send email message box will let you add any message you like & will send login details to the email address entered.
Sending a message
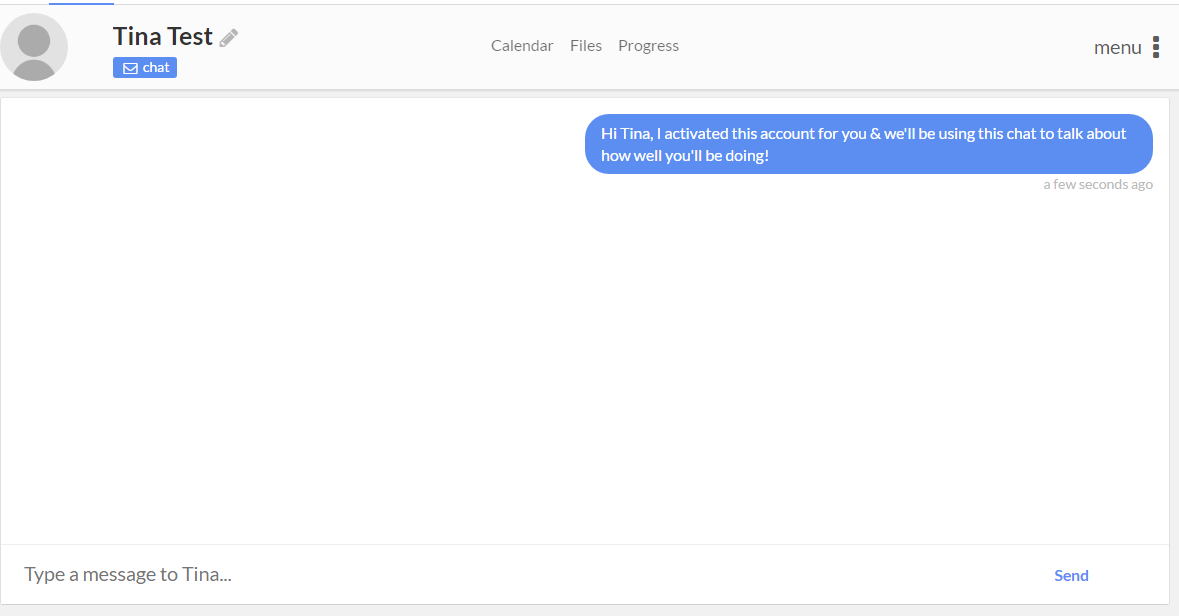
Sending a message is as simple as going to the chat area. Once a client has an enabled login then you can message them. The “enable login” button will turn blue & now read “chat” see below for example
Setting client goals & recording progress
In the client’s profile there is a “progress tab” click on that to view & record new metrics & measurements.
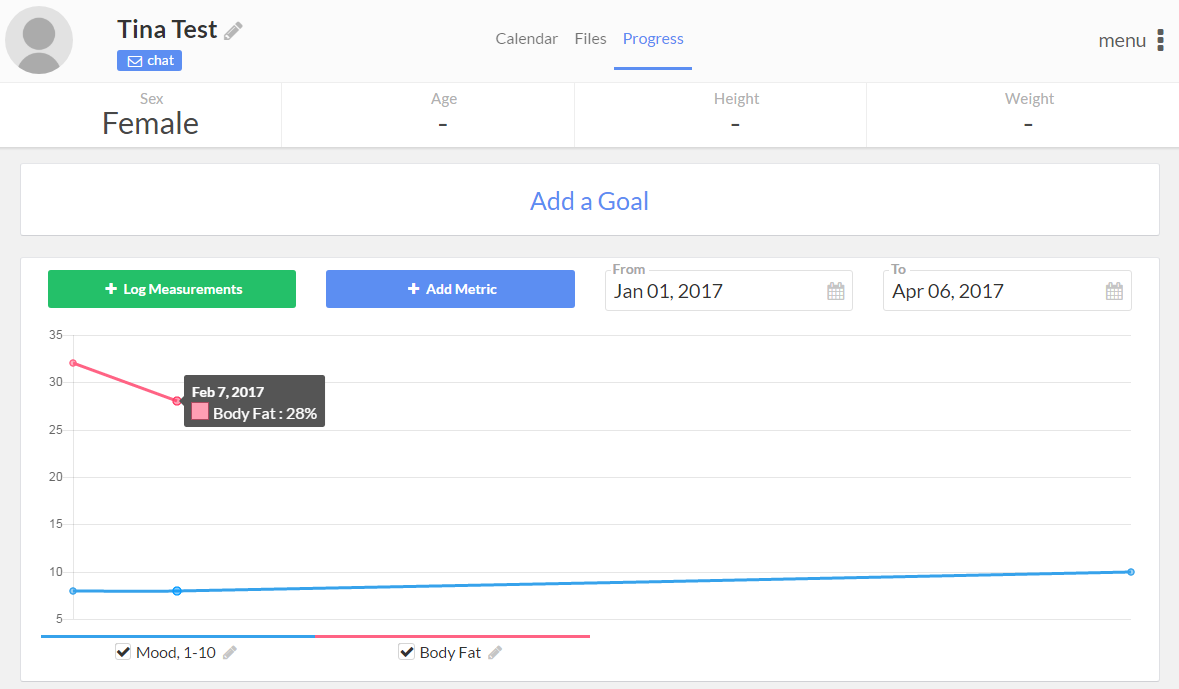
this will let you log new measurements & create new things to measure (called metrics) in this case we already have 2 metrics for Tina. Mood and Body Fat % – we can then log measurements (or Tina can) with the log measurements button
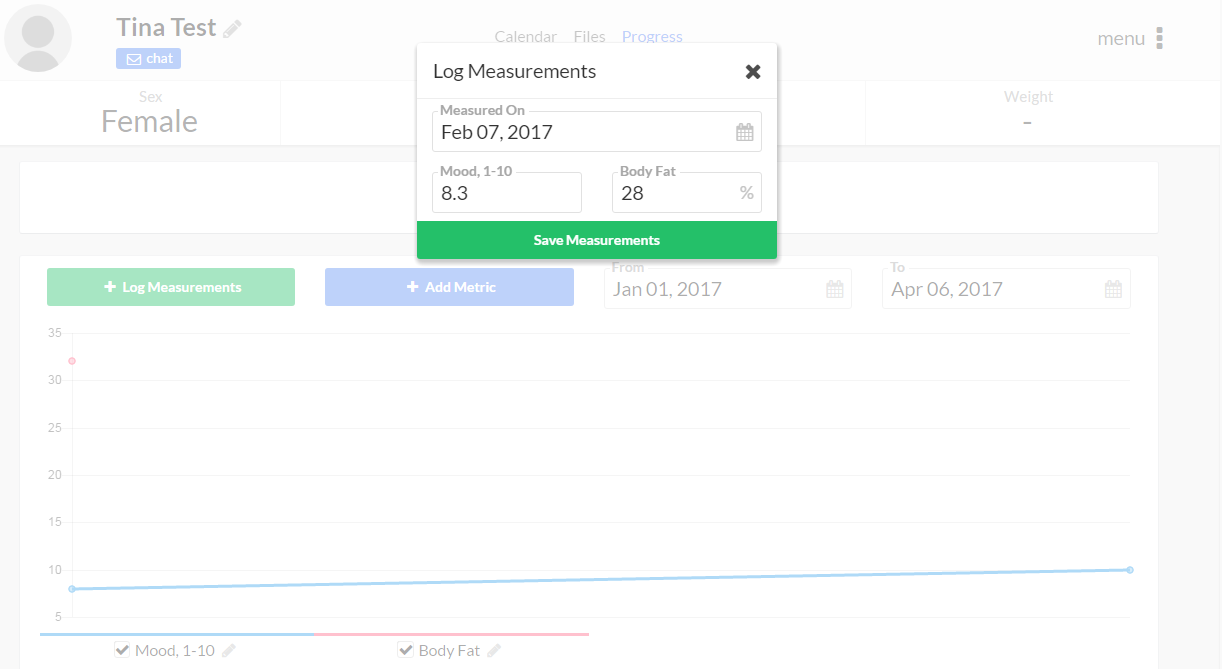
Of course, if that’s too granular we can easily set a goal for Tina which she really wants to achieve too.

Sharing a file with a client
- Go to the ‘files’ tab on the client you would like to share a file with
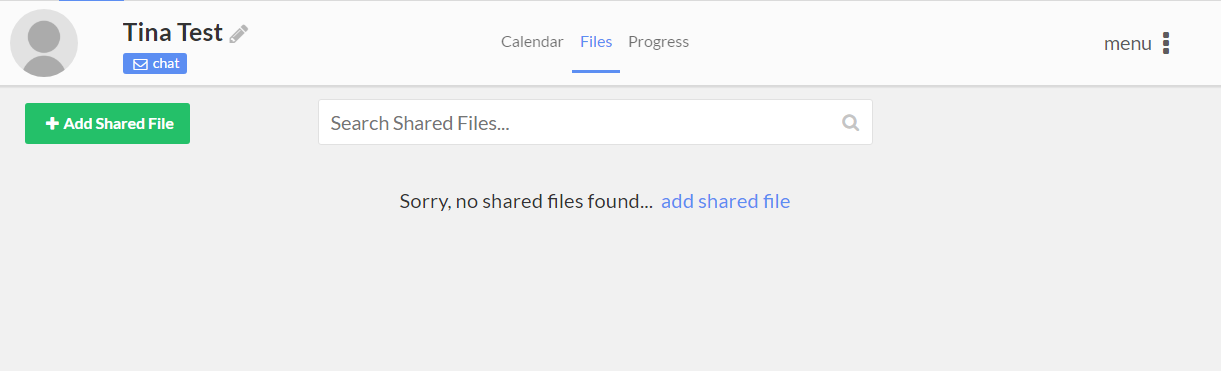
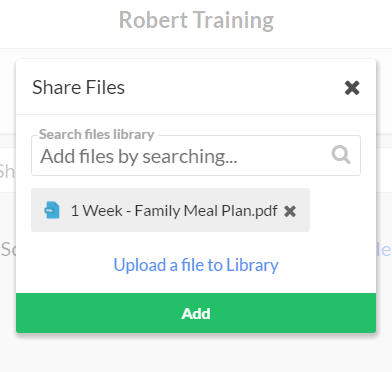
- Click “add shared file” and either select or upload a new file
- Click save & bada boom you’ve just shared a file with that one client
Sharing a file with all clients
After you have shared a file with one client you may share that file with all your clients in either the client file tab or your library. Simply click the pencil icon on the file & check the box that says share with all clients. 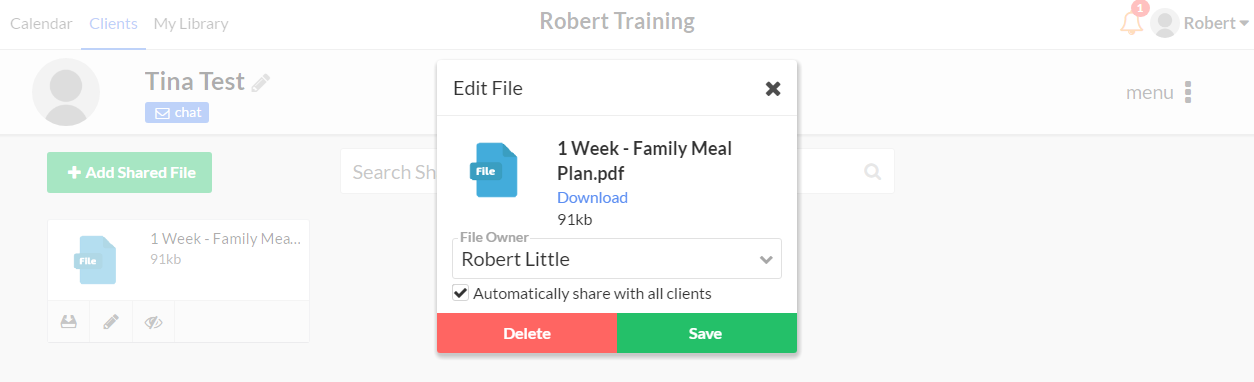
Assigning a client an Event, Meal Plan or Workout
Ah, the bread and butter of the online personal trainer platform, online personal training (or at least virtual personal training). Well will not dive into how to build workouts, or meal plan – just how to use the templates you already have.
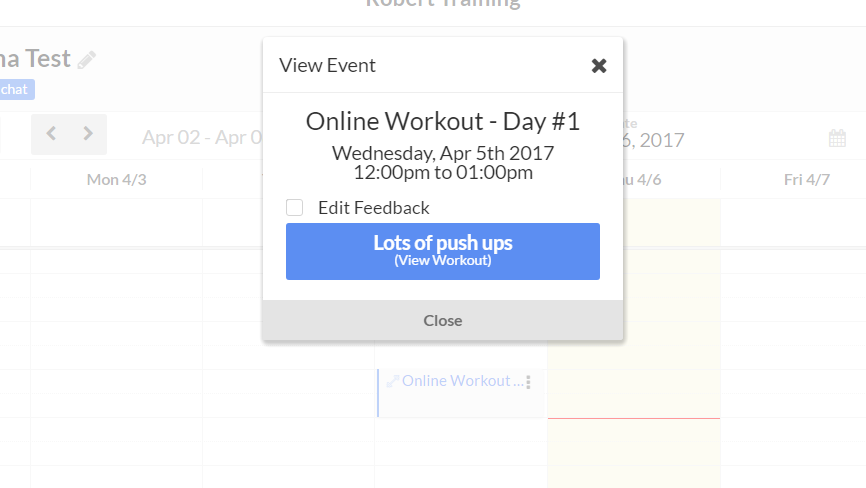
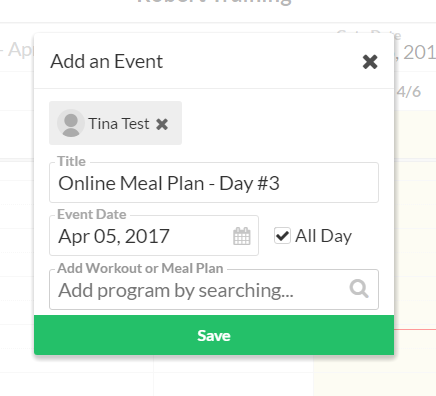
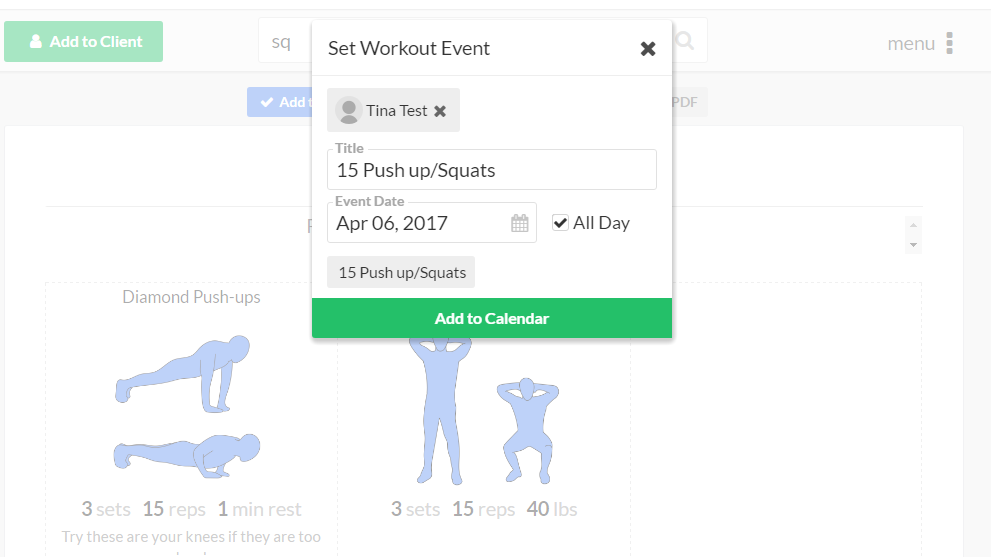
Go to the client calendar & click (or click + drag) on a time slot. You will get a modal that looks like the following. Once you do, name your session & attach the meal plan or workout you have already created (or can create on the fly)
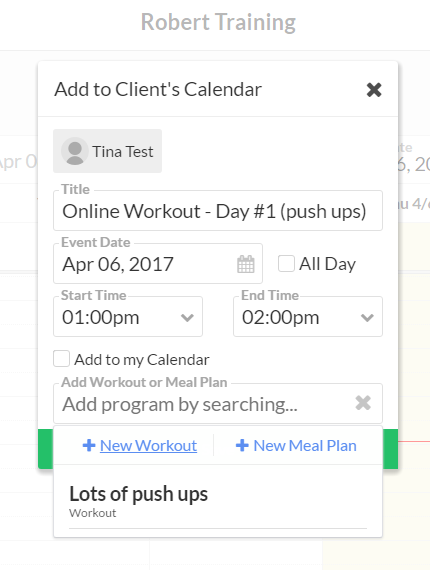
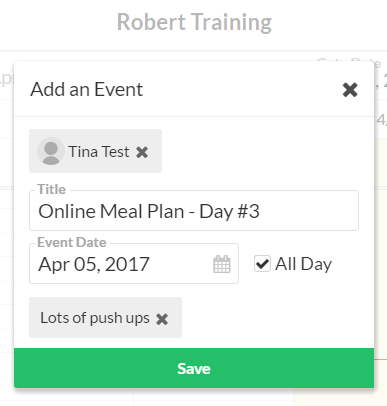
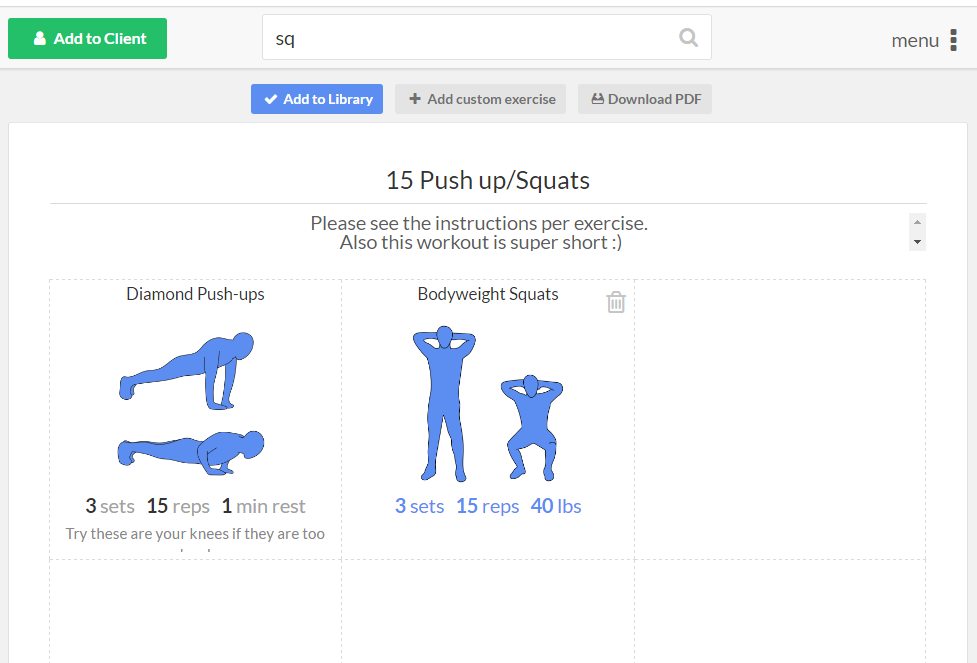
I’ve chosen a workout (lots of push ups) for Tina to do, but you may choose a meal plan or workout from either the pre-made templates or items you have personally created.
Setting up your business brand
Chances are (even though we worked super, duper, extra hard on Fit Ferret) you’ll want to use your own brand & logo, etc since you know, you’re the one actually training your clients as the awesome personal trainer that you are. We’re cool with this, in fact, we’ve made it super easy to do.
- If you are the owner (you were the one who signed up initially) go to the setting area

- Click on “Business” and this is where you can set logo + name, timezone, metrics and username you’d like to use (optional)
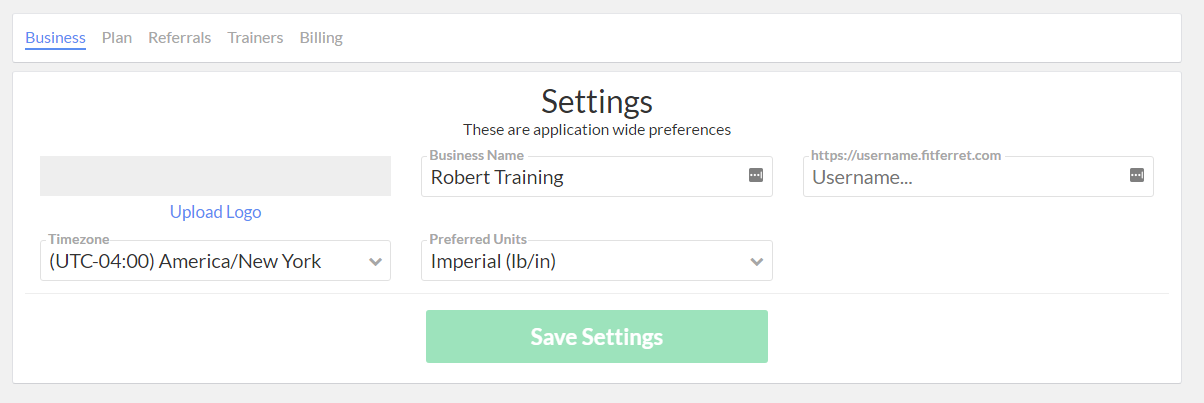
- After you click “save” your clients will not know we even exist
Adding a Trainer Profile
You may have noticed, when your client logs in one of the tabs is the “Your Trainer” – it’s a great way to show off your achievements and photo by setting this up.
- Go into your trainer profile in the top right corner

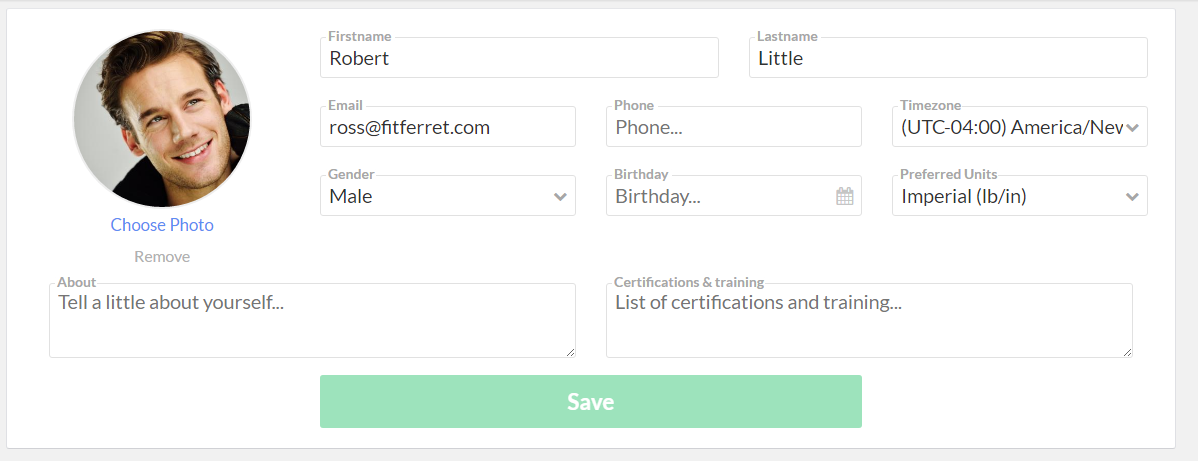
- This is what all your clients see, click the “edit” button to add new information
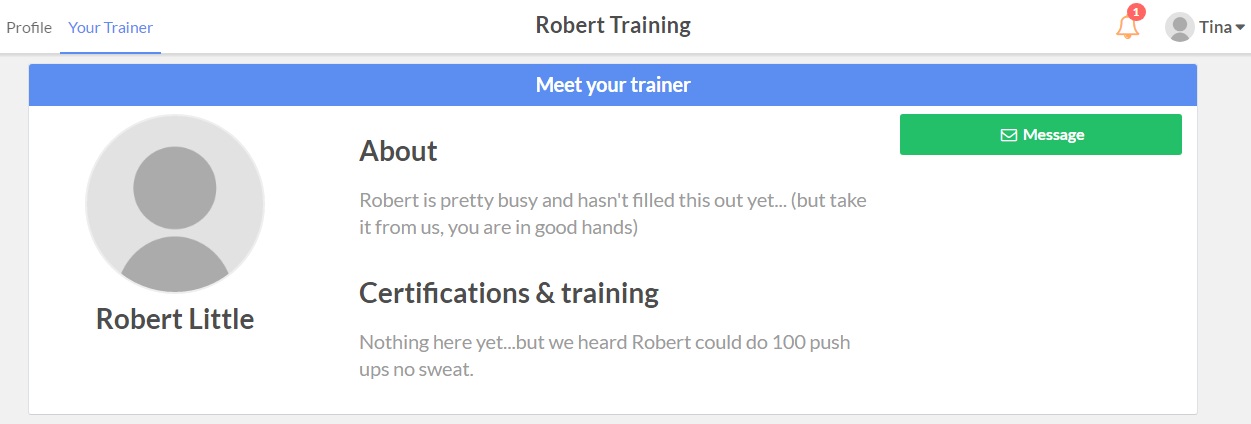
- After you Save – all of your clients will see what you have added there
Scheduling Events
Schedule events for your clients is easy and can even include attached meal plans or workouts that you build.
- Simple click on a calendar (we’re our main calendar, but this will work the same way regardless)
- Select if the even is for any of your clients
- Then search for any meal plan or workout you would like to attach
- Save it & you’re good to go
Building an online workout
- Go to the library tab (technically you can get to build a workout by making an event also & “creating a new workout”, but the library also stores all kinds of neat & sharable items)

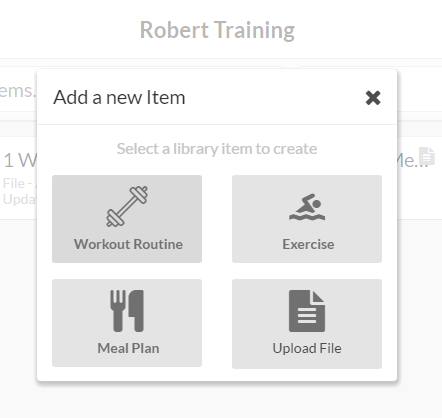
- Click “Add Item” and select “Workout” – this will take you to a fresh clean workout builder
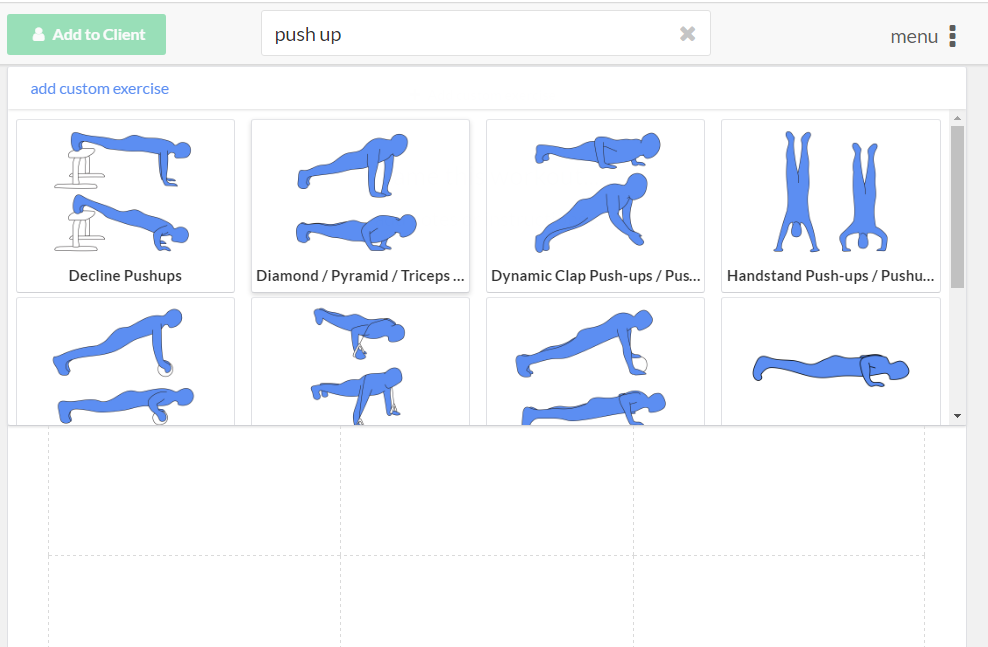
- By default, the platform has about 500 HD exercise graphics to choose from, however you can also add your own custom exercises with a YouTube video link. Search for exercises at the top to add them.
- Once you add an exercise, you can configure how many sets, reps, weight, rest, etc. for that exercise.
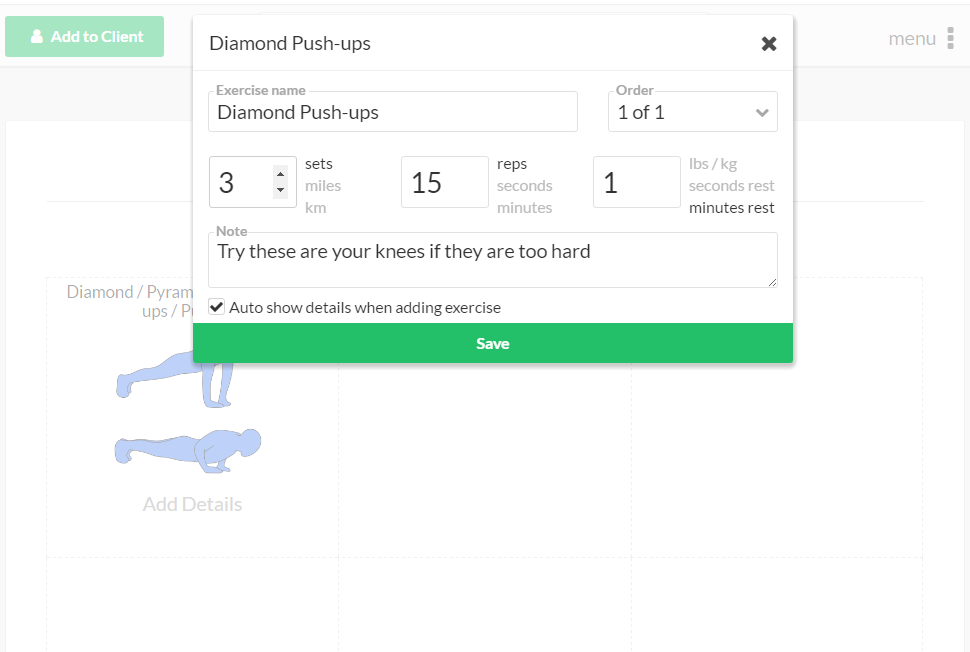
- After you have at least 1 exercise you can save the workout to your library and reuse it, or assign it immediately without saving to a client.
- Adding the workout to your library is in blue, while scheduling it for a client is the green button in the top left corner
- After that, the even will work the same way it has had you already had the template made & schedule an event
Building Meal Plans
- Go to the library tab (technically you can get to build a workout by making an event also & “creating a new workout”, but the library also stores all kinds of neat & sharable items)
- Click “Add Item” and select “Meal Plan” – this will take you to a fresh clean meal plan builder
- Once in the meal plan builder you can search at the top to copy from previously made meal plans (including our always growing library of nutritionist verified pre-made meals), or start from scratch. We’ll just start from a blank template.
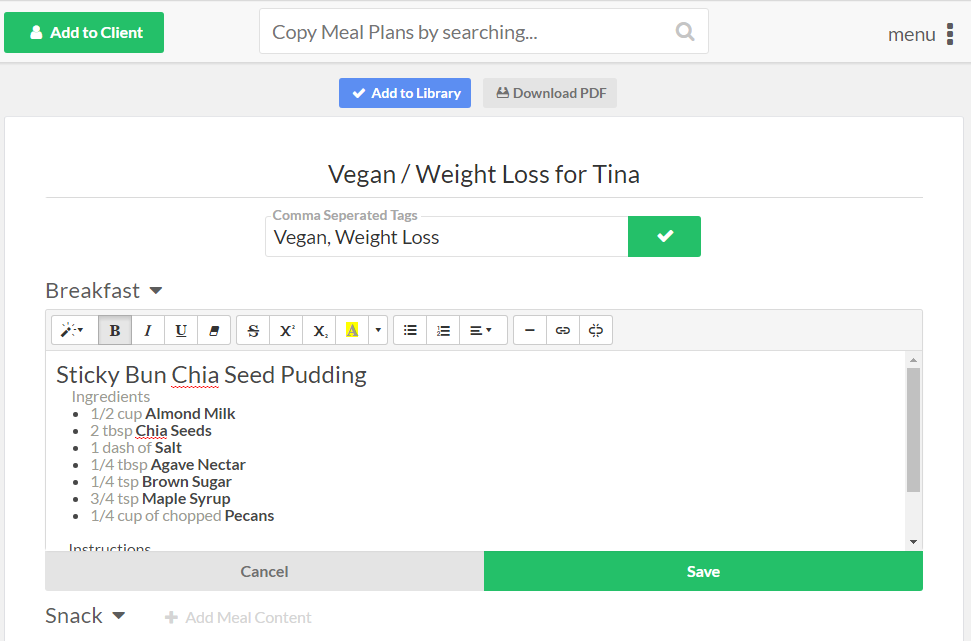
- Be sure to add tags for quick searchability and a better look. We only filled out a few things, but you may also add in calories, protien, fats, carbs for each meal time
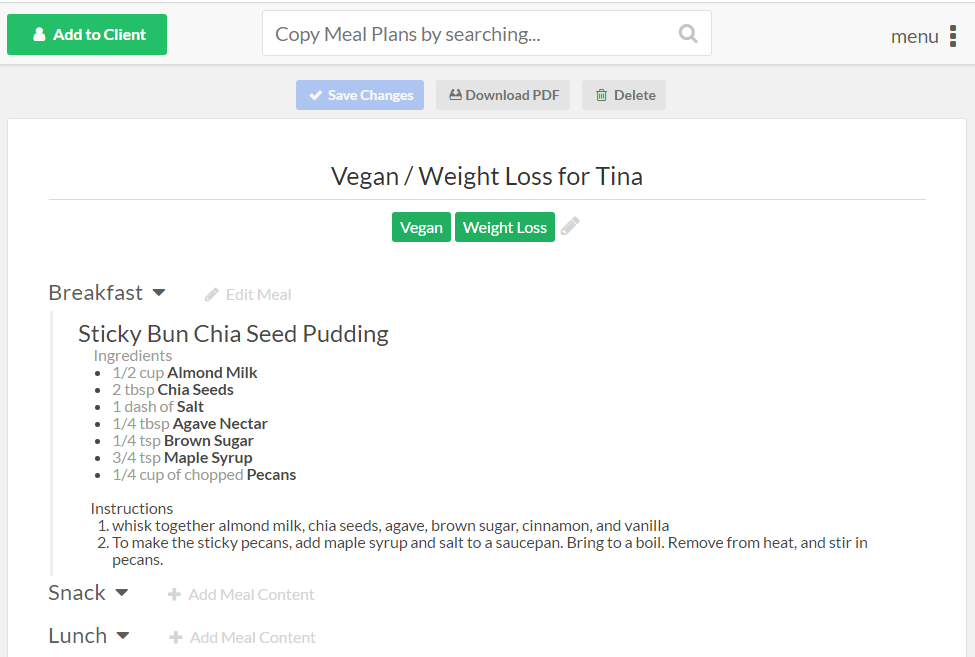
- After you’re done, add it to a client or save it to your library like we did.
Adding another Trainer
If you’re the owner of the account then you may add additional trainers (if your plan permits it)
- Start by going to the settings tab
- Once there, click on “trainers” and add/remove the same way you would clients
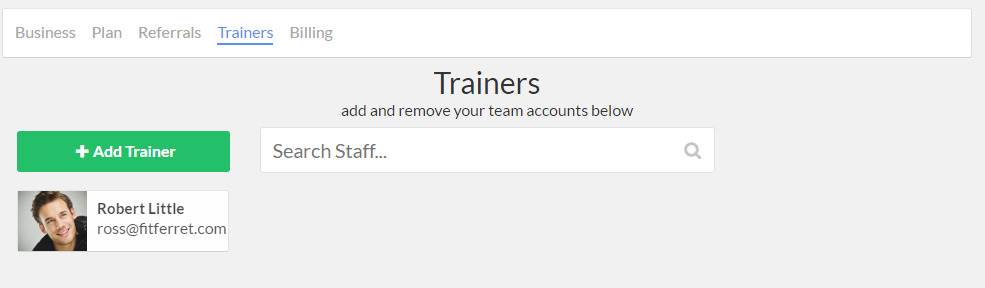
- When adding a new trainer, Fit Ferret will email an activation link for that trainer to use.
- Please note that each additional trainer is counted against your plan